This is continuation of Site to site VPN configuration
tutorial but with focus on 8.3, 8.4 and newer Cisco Asa software images. Configuration concept is pretty much the same as already explained on older Asa software, with a few exception. It's because newer Cisco Asa has some new possibilities but also some new configuration rules.
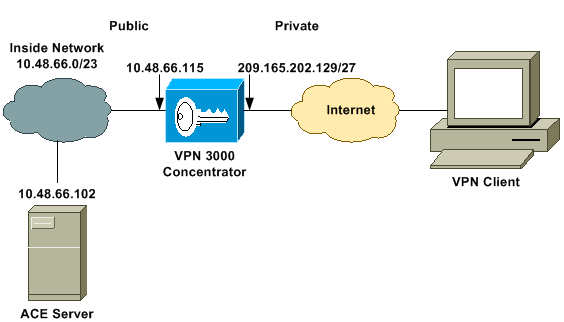
(Example scheme is the same as in previous example)
After VPN is succesfully established, every packet that flows from one VPN concentrator (often refered as peer) to the other, in our example from ASA-A firewall to ASA-B firewall and other way around, gets authenticated and crypted by the IPsec protocol suite. Protocols and standards used in IPsec protocol suite:- ESP (Encapsulation Security Payload)- AH (Authentication header)- IKE (Internet Key Exchange)- encryption algorithms (DES,3DES,AES)- DH (Diffie-Hellman group)- Hash algorithms (MD5,SH1)- SA (Security association)
First We'll define ip ranges for local and remote networks. Our local subnet is 192.168.10.0/24:
ASA-A#cont t
ASA-A(config)#object network local_network
ASA(config-network-object)#subnet 192.168.10.0 255.255.255.0
We'll define remote network, a subnet range for branch office:
ASA-A#cont t
ASA-A(config)#object network remote_network
ASA(config-network-object)#subnet 192.168.20.0 255.255.255.0
To define traffic that will go through VPN when it leaves ASA firewall, we need to setup ACL that will crypt packets that are designated to remote network:
ASA-A#cont t
ASA-A(config)#access-list crypt_for_VPN1 extended permit ip object local_network object remote_network
(notice that on remote device, ASA-B, this acl must be mirrored, using the same address range but with opposite source and destination addresses/objects) Since we want to exclude VPN traffic from NAT opertaions, We'll use identity-nat, or translate addresses of packets which are designated to remote network into itself:
ASA-A(config)#nat (inside,outside) source static local_network local_network destination static remote_network remote_network
(In other words, addresses of packets originating from local and designated to remote network will not be NAT translated) Next, We'll create a transform set of our choice using the encryption. In this example We'll create few more transform-set options in case some other devices would be connecting to this VPN concentrator in the future:
ASA-A(config)#crypto ipsec ikev1 transform-set ESP-AES-256-MD5 esp-aes-256 esp-md5-hmac
ASA-A(config)#crypto ipsec ikev1 transform-set ESP-DES-SHA esp-des esp-sha-hmac
ASA-A(config)#crypto ipsec ikev1 transform-set ESP-3DES-SHA esp-3des esp-sha-hmac
ASA-A(config)#crypto ipsec ikev1 transform-set ESP-DES-MD5 esp-des esp-md5-hmac
ASA-A(config)#crypto ipsec ikev1 transform-set ESP-AES-192-MD5 esp-aes-192 esp-md5-hmac
ASA-A(config)#crypto ipsec ikev1 transform-set ESP-3DES-MD5 esp-3des esp-md5-hmac
ASA-A(config)#crypto ipsec ikev1 transform-set ESP-AES-256-SHA esp-aes-256 esp-sha-hmac
ASA-A(config)#crypto ipsec ikev1 transform-set ESP-AES-128-SHA esp-aes esp-sha-hmac
ASA-A(config)#crypto ipsec ikev1 transform-set ESP-AES-192-SHA esp-aes-192 esp-sha-hmac
ASA-A(config)#crypto ipsec ikev1 transform-set ESP-AES-128-MD5 esp-aes esp-md5-hmac
(notice that for succesfull tunnel establishment, we have to have parameters that matches on the other peer - ASA firewall) Next, We'll enable IKE version 1 for the outside interface:
ASA-A(config)#crypto ikev1 enable outside
Next, We'll create policy for phase1 of the VPN connection. Policy number defines priority. Lower policy number are used first. Again, in this example We'll create more policies in case other devices would be connecting to this device:
ASA-A(config)#crypto ikev1 policy 10
authentication pre-share
encryption 3des
hash sha
group 2
lifetime 86400
ASA-A(config)#crypto ikev1 policy 20
authentication pre-share
encryption 3des
hash md5
group 2
lifetime 7200
ASA-A(config)#crypto ikev1 policy 30
authentication pre-share
encryption aes-256
hash sha
group 2
lifetime 86400
Now We can configure a tunnel group containing the Pre-Shared Key. Name of the tunel group is the address of a remote peer:
ASA-A(config)#tunnel-group 193.108.70.4 type ipsec-l2l
tunnel-group 193.105.74.4 general-attributes
default-group-policy 193.108.70.4
ASA-A(config)#tunnel-group 193.108.70.4 ipsec-attributes
ikev1 pre-shared-key ********
(In makse field "*******" is Pre-Shared Key entered. This exact pass-phrase must be entered on remote peer) Finally, We'll create crypto map, a configuration parameters for VPN Phase 2:
ASA-A(config)#crypto map outside_map 1 match address crypt_for_VPN1
crypto map outside_map 1 set pfs
crypto map outside_map 1 set peer 193.108.70.4
crypto map outside_map 1 set ikev1 transform-set ESP-3DES-MD5
Configuration of other remote device ASA-B on remote site B must be the same. Only difference are mirrored addresses for the local and remote netowrk.

Comments
Post a Comment